

TallyPrime setup 2026 is the most important thing to get right after buying the software. Configuring it correctly from day one means accurate financial reports, smooth voucher entry and hassle-free statutory compliance, whether you run a proprietorship, partnership, private limited company or service agency.
This comprehensive guide covers every mandatory and advanced setup step in TallyPrime 2026—from company creation and statutory tax enablement to cloud backup scheduling and custom invoice branding.
📋 Quick Navigation Index
- Creating Your Company & Managing Data Paths
- Statutory Setup: GST, E-Invoicing, E-Way Bill & TDS
- Business Mode Selection: Inventory vs. Accounting-Only
- Startup Settings & Dashboard Customization
- Data Security, Cloud Auto-Backup & Restoration
- Designing Professional Invoices with Custom Templates
- Summary Checklist for Initial Setup
1. TallyPrime Setup 2026: Create Your Company & Manage Data Paths
The first step after opening TallyPrime is establishing your business entity in the software. In TallyPrime, a “company” represents any business entity whose financial transactions you record.
Mandatory Company Details
When creating a new company, complete all primary administrative and contact fields thoroughly. Key fields entered during company creation automatically populate your printed sales invoices and official tax returns.
- Company Name: State your official firm name (e.g., Gaurav Enterprises).
- Address, State & Country: Selecting the correct State is strictly mandatory. State selection dictates GST applicability (IGST vs. CGST/SGST) across all purchase and sales vouchers.
- Contact & Corporate Info: Enter your Pin Code, Mobile Number, Email Address, and Website URL.
- Financial Year & Books Beginning Dates: Define your Financial Year Beginning From (e.g., April 1, 2026) and Books Beginning From date (the exact date from which you begin recording transactions in Tally, such as October 2, 2026).
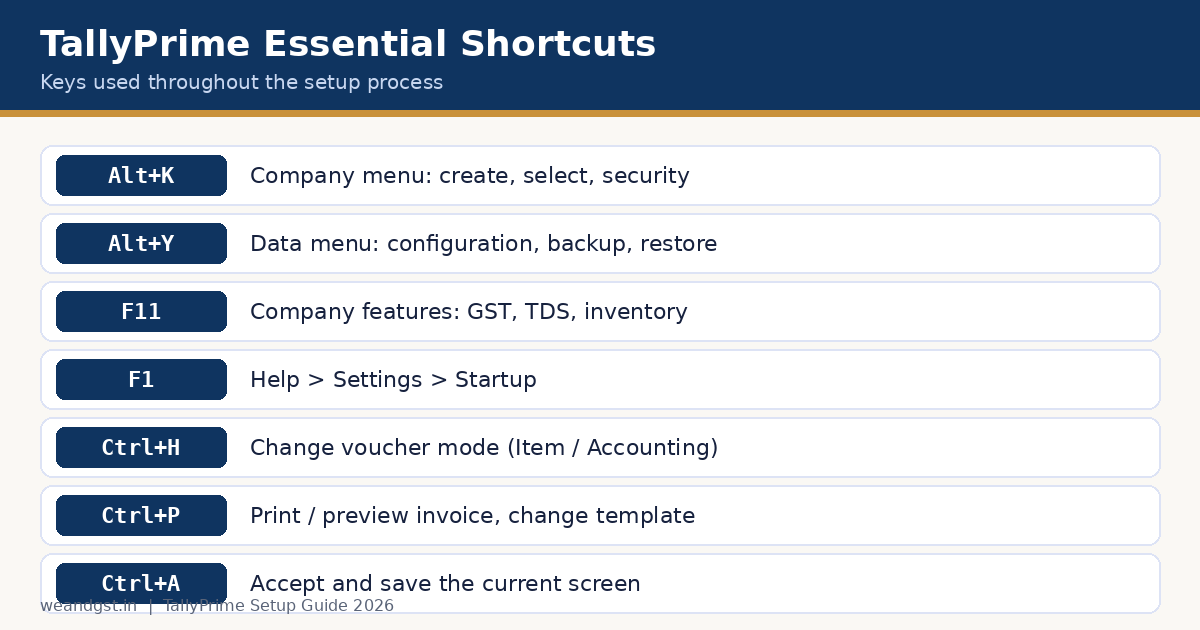
Gateway of Tally > Create Company (or press Alt+K > Create)Configuring Company Data Paths
Understanding where TallyPrime stores your financial data files is essential for data safety. By default, Tally saves company data into specific system folders, assigned a unique numerical folder ID (such as 107 or 10717).
To customize your storage location:
- Access Data Path configuration by pressing Alt+Y (Data) > Configuration.
- Specify your preferred directory path (for example, storing company folders under
D:\Desk Tally Homeinstead of the root directory). - Confirming this setting ensures that any new company created automatically generates its data folder within your designated location.
2. Statutory Setup: GST, E-Invoicing, E-Way Bill & TDS
Once your company is created, TallyPrime displays a primary features pop-up window (which can also be re-opened at any time by pressing F11). Setting up tax compliance parameters early ensures that every transaction automatically calculates statutory duties.
Enabling Goods & Services Tax (GST)
Under the Taxation section of the F11 menu:
- Set Enable Goods and Services Tax (GST) to Yes.
- Select your State and enter your valid GSTIN/UIN.
- Choose your GSTR-1 Return Filing Frequency (Monthly or Quarterly). This selection configures your default return view, though return periods can still be adjusted inside tax reports.
- Set your HSN/SAC Code Length based on your annual turnover requirements.
- Define GST Rate Details globally if your business operates under a single tax slab, or leave it variable if you assign rates at the ledger or item group level.
Connected GST Returns (TallyPrime 5.0+ and 7.1)
Modern releases of TallyPrime include Connected GST capability. By configuring your GST portal username and filing mode directly within Tally, you can generate and file GSTR-1 and GSTR-3B returns straight from the software without manual data exports.
E-Invoicing & E-Way Bill Parameters
For businesses subject to e-invoicing and e-way bill regulations:
- E-Invoicing Setup: Enable E-Invoicing, set the applicability start date, and specify your Bill-From Address. TallyPrime requires complete Bill-From, Bill-To, and Ship-To details to generate compliant e-invoices.
- E-Way Bill Setup: Enable E-Way Bill applicability, select intra-state applicability, and define the applicable Threshold Limit (such as ₹50,000 or ₹1,00,000 based on state-specific rules).
Enabling Tax Deducted at Source (TDS)
If your business is required to deduct tax at source:
- Set Enable Tax Deducted at Source (TDS) to Yes in the F11 Taxation menu.
- Enter your Tax Deduction and Collection Account Number (TAN).
- Select the Deductor Type (e.g., Company, Individual, or Firm) and enter your Branch/Head Office details.
- Specify the Responsible Person details (Proprietor or Director name) and configure Income Tax exemption limits as applicable.
3. Business Mode Selection: Inventory vs. Accounting-Only
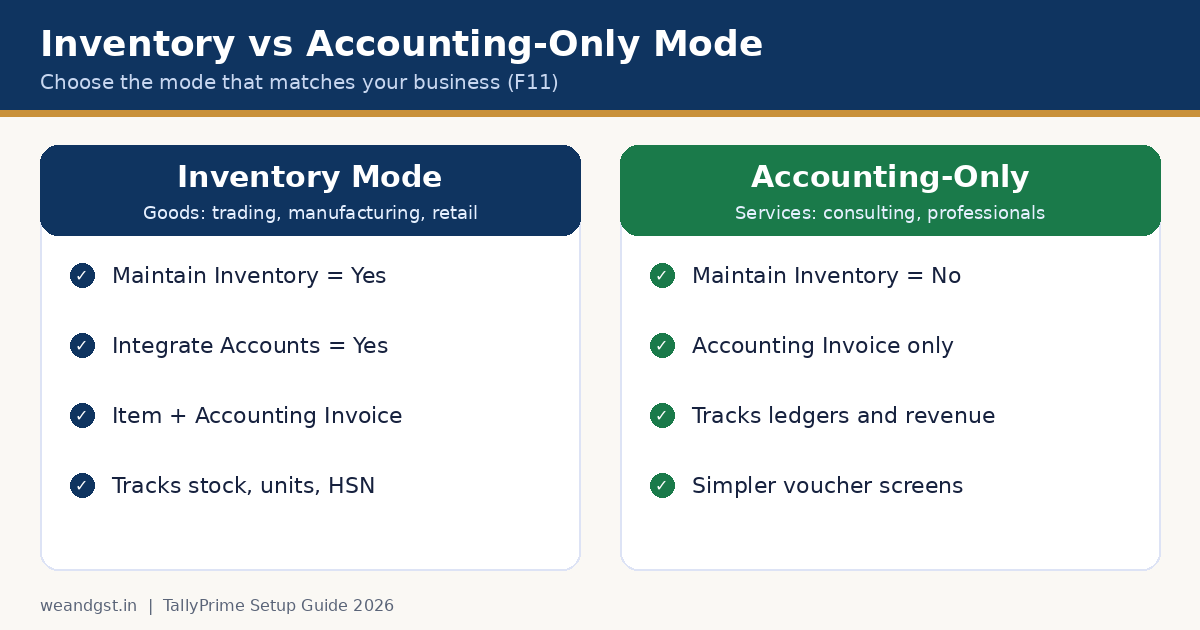
TallyPrime adapts to both trading businesses that manage physical stock and service providers that only track monetary ledgers.
| Feature / Metric | Inventory Mode (Goods) | Accounting-Only Mode (Services) |
|---|---|---|
| Primary Business Focus | Trading, Manufacturing, Retail | Professional Services, Consulting |
| F11 Setting | Maintain Inventory = Yes | Maintain Inventory = No |
| Accounts Integration | Integrate Accounts with Inventory = Yes | N/A |
| Voucher Entry Options | Item Invoice & Accounting Invoice Modes | Accounting Invoice Mode Only |
| Stock Tracking | Tracks Quantities, Units, HSN, & Stock Valuation | Tracks Financial Ledgers & Revenue Lines |
How to Toggle Between Modes
- Press F11 to open Company Features.
- To run an accounting-only setup (service business), set Maintain Inventory to No. This removes item entry fields across sales and purchase screens.
- To track physical stock, set Maintain Inventory and Integrate Accounts with Inventory to Yes.
- During sales voucher entry, press Ctrl+H (Change Mode) to switch between Item Invoice mode (for goods) and Accounting Invoice mode (for services).
4. Startup Settings & TallyPrime Dashboard Customization
Optimizing how TallyPrime launches saves time during daily accounting tasks. You can configure which companies auto-load on startup and set your default landing screen.
Auto-Loading Specific Companies on Startup
- Press F1 (Help) > Settings > Startup.
- Set Load Companies on Startup to Yes.
- Select the specific business entities (e.g., Gaurav Electronics and Gaurav Enterprises) that you want TallyPrime to open automatically whenever the application launches.
Enabling the TallyPrime Dashboard Landing Page
Rather than starting at the traditional Gateway of Tally menu, TallyPrime allows you to land directly on an interactive visual dashboard.
- Navigate to F1 (Help) > Settings > Startup.
- Enable Open Dashboard on Startup.
- When enabled, launching TallyPrime presents a graphical dashboard displaying key business metrics, including Sales vs. Purchase trends, Receivables, Payables, and Cash Flow charts.
5. TallyPrime Data Security, Cloud Backup & Restoration
Protecting your financial database against hardware failure, corruption, or unauthorized access is a critical responsibility for every business owner and accountant.
Data Security & User Access Control
To protect company data from unauthorized inspection or tampering:
- Press Alt+K (Company) > Security.
- Select your company and set Control User Access to Company Data to Yes.
- Assign an Administrator Username and Password.
- Save the settings by pressing Ctrl+A.
Once security is configured, opening the company requires entering valid credentials before access is granted.
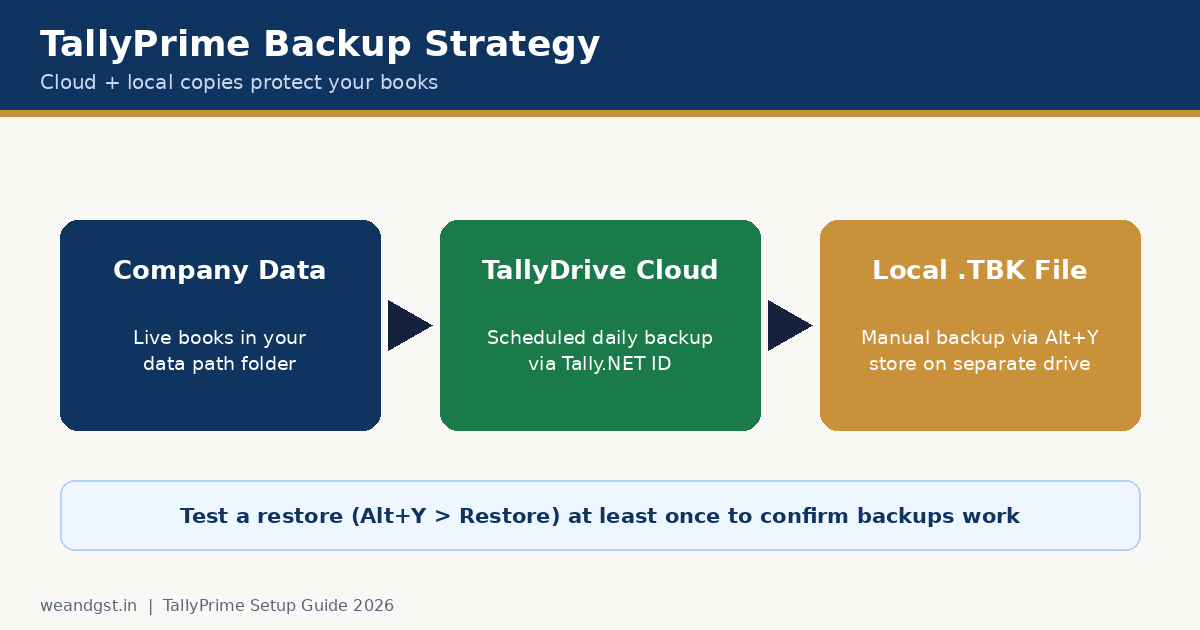
Scheduled Cloud Auto-Backups via TallyDrive
Income tax guidelines recommend keeping updated data backups on secure cloud servers located in India. TallyPrime integrates directly with TallyDrive to provide automated, cloud-based data backups.
Step 1: Configure Cloud Backup Path
Press Alt+Y (Data) > Configuration > Data Backup Path and select TallyDrive (which provides 1 GB of cloud storage for single-user licenses, with expanded storage for multi-user licenses).
Step 2: Schedule Automatic Backups
- Press Alt+Y (Data) > Schedule Backup > Add Schedule (Alt+A).
- Select your company (e.g., Gaurav Enterprises).
- Set the backup frequency (Daily, Weekly, or Monthly) and specify the execution time (e.g., 06:38 PM).
- Enter your authorized Tally.NET ID and Password to activate cloud backup synchronization.
Manual Backup and Restoration Protocol
In addition to cloud backups, you can export local manual backup files.
- Creating a Manual Backup: Press Alt+Y (Data) > Backup. Select your target storage destination (such as Desktop) and choose the company to back up. Tally creates a compressed
.TBKfile (e.g.,TBK900_10717.tbk). - Restoring a Backup: If data is corrupted or accidentally deleted, press Alt+Y (Data) > Restore. Specify the destination path where the company should reside, select the source
.TBKbackup file, and press Enter to restore the complete company database.
.TBK copy on a separate drive, and test a restore at least once to confirm your backups actually work.6. Designing Professional Invoices with Custom Templates
TallyPrime 7.1 and 5.0+ offer flexible print layout tools that allow businesses to move beyond traditional layouts and print modern, branded sales invoices.
Customizing Print Layouts & Templates
When printing an invoice (press Ctrl+P on any sales voucher and select Preview):
- Classic vs. Modern Templates: Press Alt+P or select Change Template to choose between the standard Classic Tally layout and clean, modern templates.
- Adding Branding & Logos: Upload your company logo, enable custom invoice headers, and add background watermarks.
- Configuring Visual Elements: Customize invoice properties to toggle visible detail columns, adjust border styles, enable or disable tax breakdowns, and apply bold formatting to specific total fields.
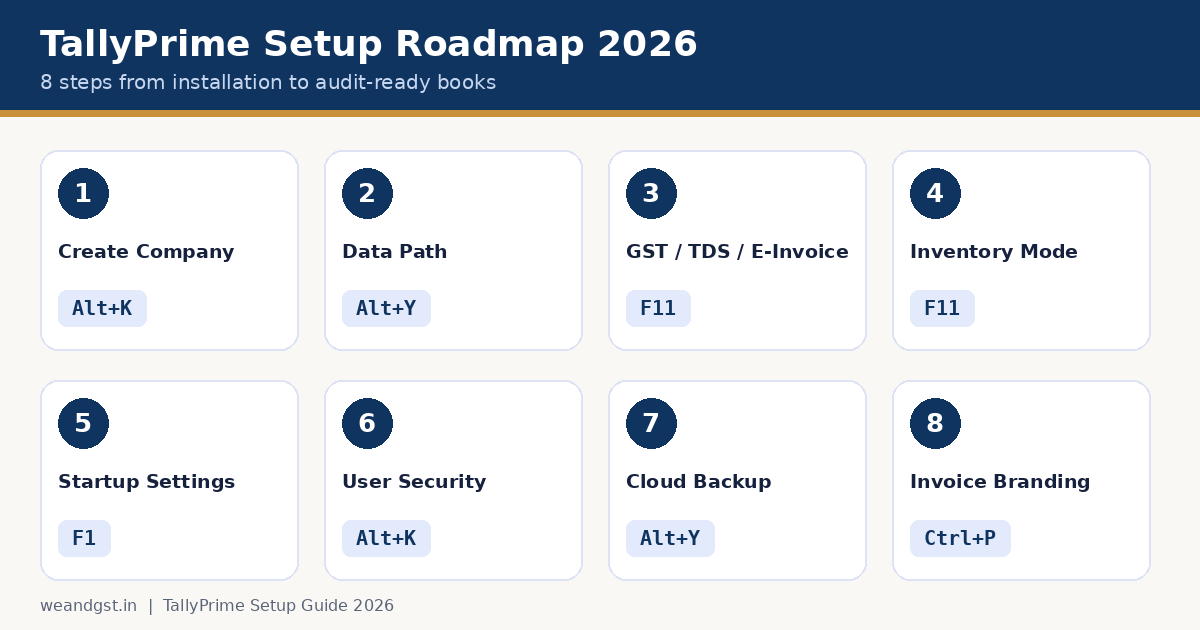
TallyPrime Setup 2026 Summary Checklist
| Setup Phase | Key Action Items | Navigation Shortcut |
|---|---|---|
| 1. Company Creation | Enter Name, Mandatory State, Address, FY & Books Dates | Alt+K > Create |
| 2. Data Path Setup | Assign dedicated drive folder for data storage | Alt+Y > Configuration |
| 3. Statutory Enablement | Enable GST, E-Invoice, E-Way Bill, & TDS parameters | F11 (Features) |
| 4. Mode Configuration | Set Inventory vs. Accounting-only mode | F11 > Maintain Inventory |
| 5. Startup Preferences | Auto-load primary companies & set Dashboard view | F1 > Settings > Startup |
| 6. Security Setup | Enable User Access Control with Admin password | Alt+K > Security |
| 7. Cloud Backup | Schedule automatic cloud backup via TallyDrive | Alt+Y > Schedule Backup |
| 8. Invoice Branding | Select print templates, add logo, & set watermark | Ctrl+P > Change Template |
✅ You’re All Set- TallyPrime setup 2026
By following this step-by-step setup guide, your TallyPrime 2026 installation will be fully configured for effortless daily accounting, tight statutory compliance, robust security, and seamless audit readiness.
About the Author: This post is published by the editorial team at We and GST, your trusted source for accounting software, GST, income tax, and compliance updates in India.